
What this guide gets you
Most of what a growth loop costs you is not the analysis. It is everything that has to be true before the analysis means anything. Someone writes a tracking plan across a spreadsheet. Someone wires the SDK. Someone checks that the events fire, or forgets to, and three weeks later a chart moves for reasons nobody can pin down. Then two people define conversion two different ways in the same meeting and neither one budges. The dashboard is the last ten percent. The rest is plumbing, and plumbing is where these projects quietly stall.
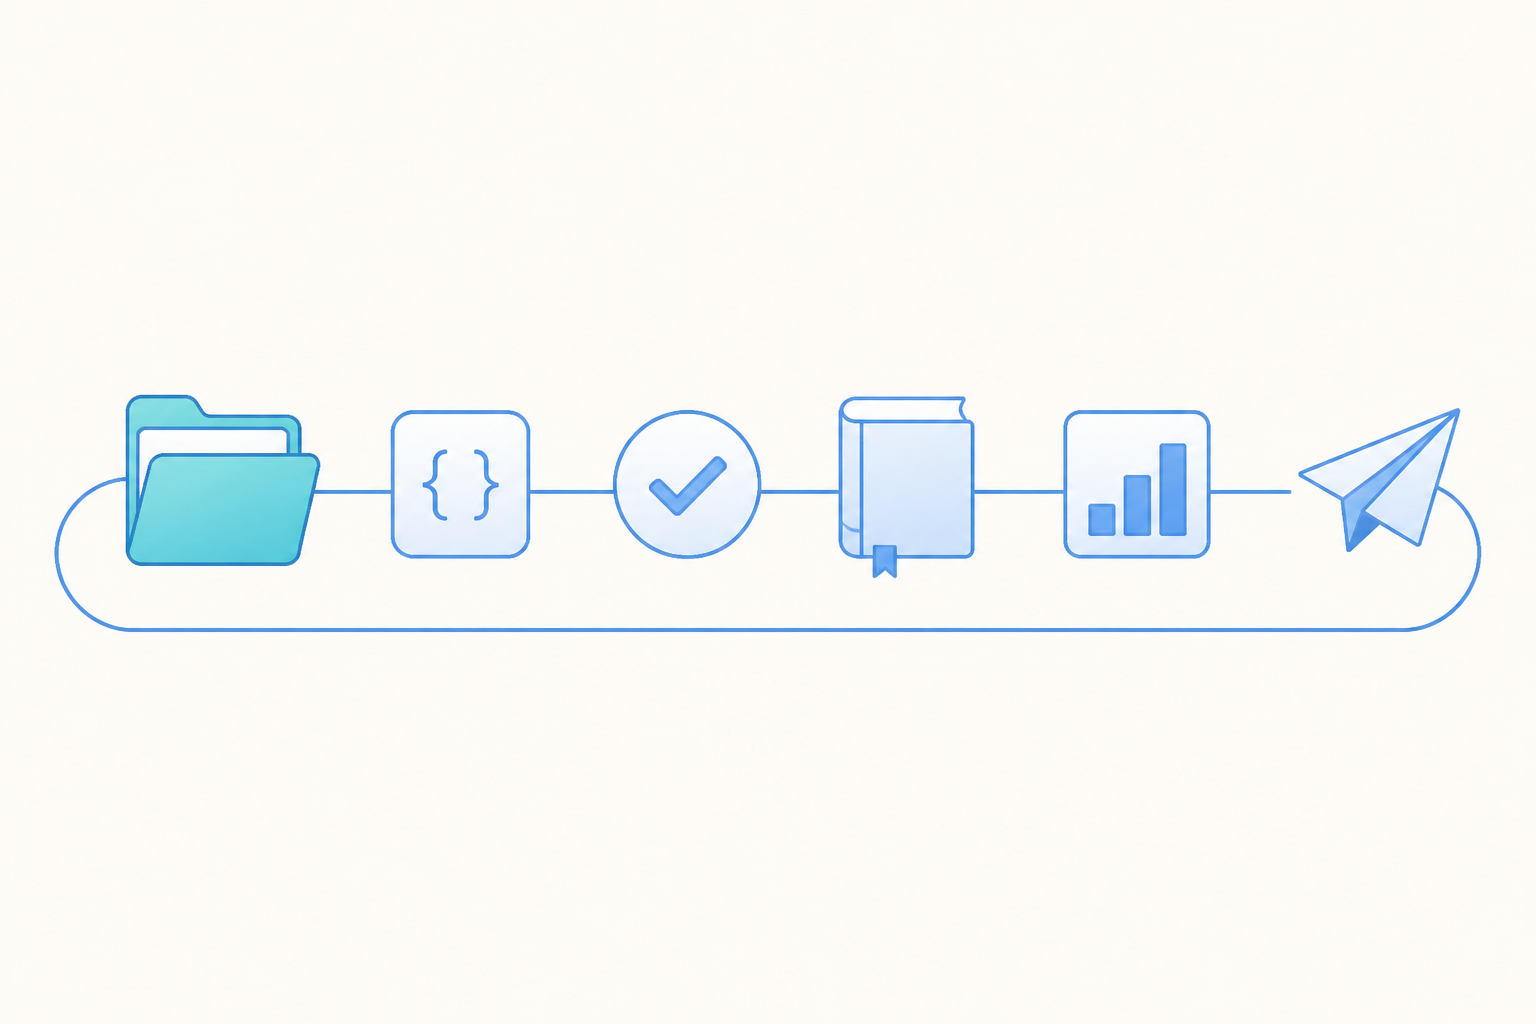
This guide runs the whole loop as six steps and hands each one to a coding agent. You paste a prompt, the agent does the legwork, and you confirm the result in the Agentic Engine pages before anything touches production. By the end you have a tracking plan, working instrumentation, a metrics knowledge base, a live dashboard, and a re-engagement flow that feeds its own results back into that dashboard.
The coding agent is only the hand that types. What makes the loop repeatable is the layer underneath it: industry-tuned metric definitions, years of collection and compliance already built in, a sandbox that keeps the work contained, and every output visible in one place. That part is worth a look, but at the end, not the top. For now, set up.
Before you start
Three things: Node 18 or newer, a coding agent, and an Agentic Engine account.
Install the CLI and the skill, then log in:
npm install -g @thinkingai/ae-cli
npx skills add ThinkingAIAgenticEngine/ae-cli -g -y
ae-cli auth login
The first command installs ae-cli globally. The second adds the AE skill so your agent knows how to drive it. ae-cli auth login connects the CLI to your account. You do this once and then forget it.
How to read each step
Every step below has the same shape: a line on why it exists, a prompt you can copy straight to your agent, what the agent does with it, and a short list of what to check in the Agentic Engine before you move on. Work them in order. Each step is the input for the next, so skipping one only moves the problem downstream.
Step 1. Generate a tracking plan
A tracking plan is usually a few days of manual mapping in a spreadsheet, and the spreadsheet is half out of date by the time it is done. Here the agent builds it interactively in minutes and shows it to you before anything uploads.
Paste this:
Based on my website project (Next.js), generate a tracking plan for three
scenarios: registration conversion, content browsing, and form inquiry.
Use snake_case for event names, and list common properties separately.
Output the event table and the property table for me to confirm first, and
do not upload anything before I confirm. For each event, note when it fires
and its acceptance criteria.
What the agent does: it scans your codebase to pull out the actual business logic, then models the plan to the project's real shape. In our test run the site had no registration feature, so the agent noticed that and modeled a lead-capture funnel instead. It produces an event table and a property table, shows them to you first, and uploads to AE only after you confirm.
Check in the Agentic Engine:
- Data Management, Tracking Plan shows every event.
- Any event's detail includes its firing timing and acceptance criteria.
Step 2. Land the instrumentation code
The plan is approved. The next part, the SDK integration and every tracking call, is the tedious work nobody wants to write and nobody wants to review either. It is also where a single typo goes unnoticed for a month. So do not write it by hand.
Paste this:
/ae-generate-tracking-codeWhat the agent does: it first shows a preview of where the code will go, a list of new files plus the edits it plans to make. It writes nothing until you confirm. The design is centralized, a route listener plus event delegation, so the change stays small and contained rather than scattered across your components. After it lands the code, it runs a production build to make sure nothing broke.
Check:
- The project diff shows the SDK wrapper file and the tracking calls.
npm run buildpasses.
You will need the APP_ID and the reporting endpoint from your project's integration settings page. If they are missing, the agent asks for them on the spot.
Step 3. Verify events in Debug mode
This is the step people skip, and it is the one that saves you the mystery meeting later. Before you ship, every event should fire once for real and get checked against the plan, one by one.
Paste this:
Run the debug verification for me, checking each event one at a time.What the agent does: it starts a dev server, drives a real browser to trigger the events by actually clicking through the flows, and compares what arrives against the plan, event by event.
Check:
- AE Debug mode shows events streaming in live.
- Each event is marked correct against the plan.
Step 4. Build a metrics knowledge base
Analysis falls apart the moment two people define the same metric two different ways, which is to say, in most meetings. A knowledge base gives you one source of truth, so every later step reads from the same definitions instead of relitigating them.
Paste this:
Create a knowledge base called "Website Metrics Definitions" and add the
tracking plan and the metric-definition docs I upload. Once it finishes
compiling, answer this: what are the numerator and denominator of the
website registration conversion rate, and which event does the data come
from? Your answer must cite its sources.
What the agent does: it creates the knowledge base, uploads your documents, and compiles it. After compiling you can ask it questions directly, and its answers cite the source they came from.
Check:
- The knowledge base page shows the library status as compiled.
- Asking a definition question returns an answer with a citation.
Step 5. Create dashboards
Now the reporting, in plain language. The agent turns what you say into the project's real event names, using the definitions you just captured, so "registration funnel" resolves to one specific thing and not a guess.
Paste this:
Using the definitions in "Website Metrics Definitions", create a dashboard
called "Website Conversion Overview" with three reports:
1) UV trend over the last 30 days, by day
2) registration funnel: page_view -> register_click -> register_submit
3) 7-day retention for registered users
Send me the dashboard link when it is built.
What the agent does: it recognizes the generic event names you used and maps them to the project's real events through the knowledge base. It writes the mapping basis into each report's description, so the translation is auditable. Then it builds the dashboard and confirms the reports return data.
Check:
- All three reports on the dashboard return data.
- Each report description shows the mapping basis it used.
In our test run the registration funnel came back at roughly 101 to 64 to 21: about 63 percent from view to click, then about 33 percent from click to submit, so roughly 21 percent end to end. Real numbers from a real project, not a mockup.
Step 6. Ship a re-engagement flow
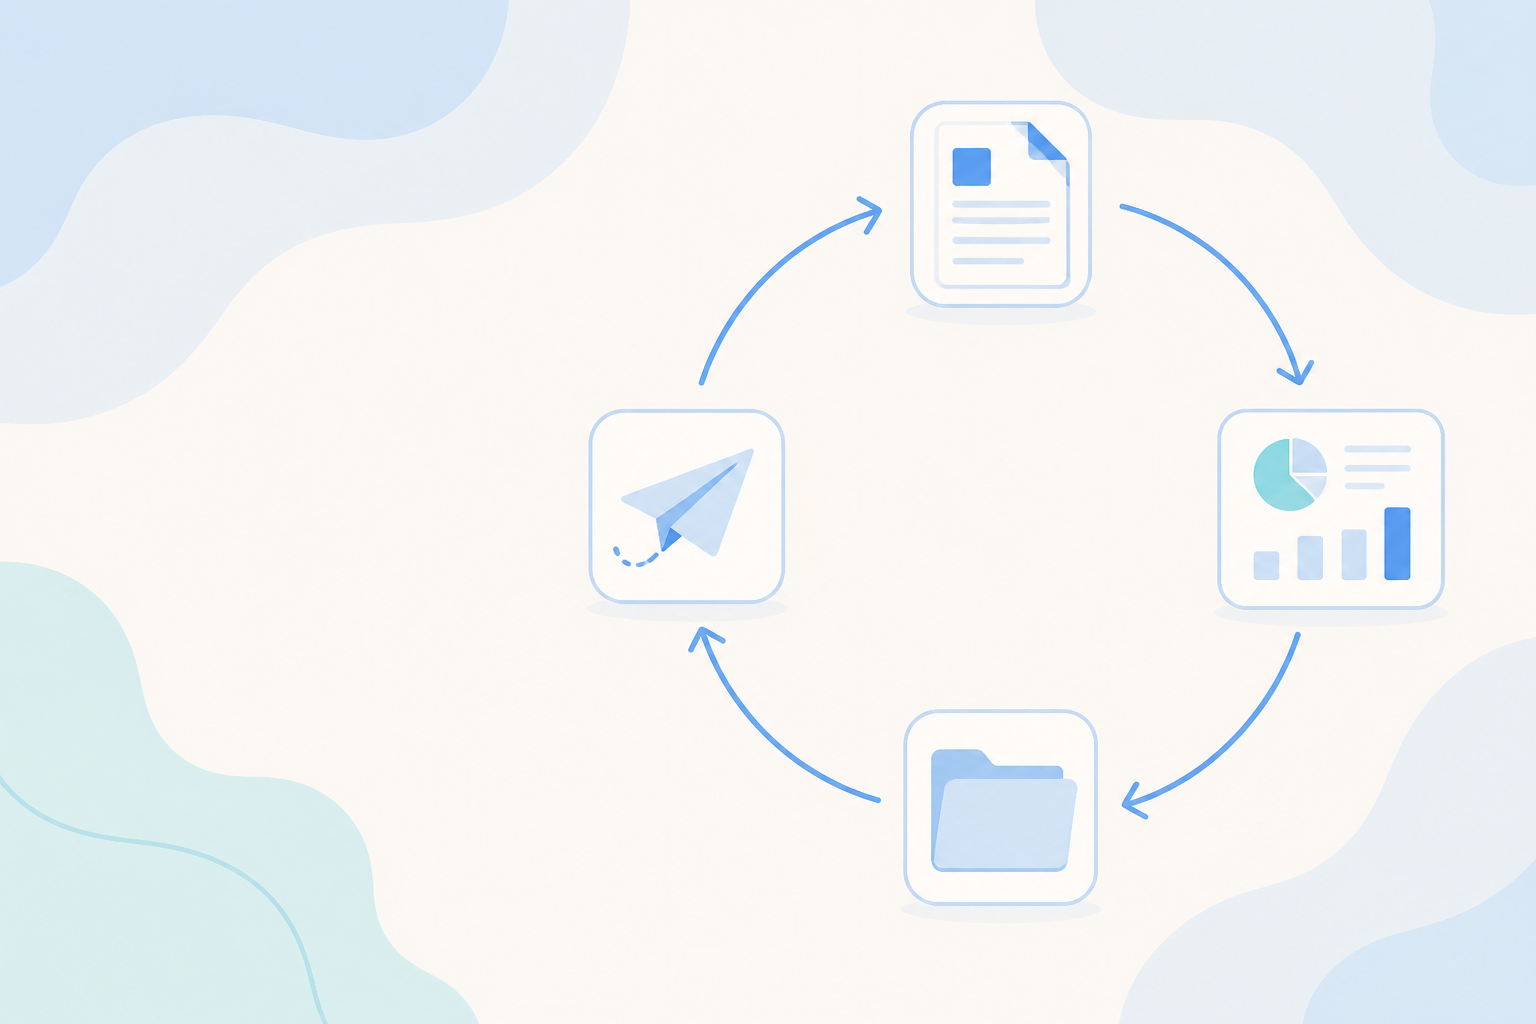
The last step turns analysis into action: pick a segment, confirm the message, generate a flow that runs on a schedule, and feed its results back into the dashboard. That is the loop closing, and it is the part most stacks never actually reach.
Paste this:
Select visitors from the last 7 days who submitted an inquiry form but did
not complete registration, and create a re-engagement flow. Show me the
message copy to confirm first, and do not activate before I confirm. Once
active, feed the message clicks and any follow-on registration conversions
back into the "Website Conversion Overview" dashboard.
What the agent does: it builds the segment from that behavior pattern, shows you the message copy to confirm before anything goes live, and generates a two-branch canvas with a scheduled trigger.
Check:
- The flow canvas shows the branch structure and the schedule.
- The segment is listed and inspectable.
- Back on the dashboard, you can see follow-on registration conversions from the re-engaged group. The data has come full circle.
Why the layer underneath matters
You could run these six prompts against any skill-capable agent and get output. Whether you can trust the output is a separate question, and it does not turn on the agent. It turns on what the agent is standing on.
- Metric definitions are industry-tuned, so a funnel means the same thing every time you build one.
- Data collection carries years of compliance work, so instrumentation is not a fresh legal question on every project.
- The agent works inside a sandbox, so its changes stay contained and reviewable.
- Cost is controlled at the platform layer instead of running open-ended.
- Every artifact, the plan, the code, the knowledge base, the dashboard, the flow, sits in one place where you can check it.
None of that is the agent being clever. It is the boring infrastructure being already done. That is the entire difference between running this loop and wiring six tools together yourself.
FAQ
Do I need a specific coding agent? No. ae-cli and the skill work in any environment that supports skills. This guide uses one coding agent as the example.
Where does the data come from? Every step here is a real run on a real project against an AE demo environment. The funnel numbers are that project's own.
What this actually removes
The loop was never hard because any one step is hard. It is hard because the steps live in different tools, owned by different people, and the days disappear into the handoffs between them. The tracking plan waits on the engineer. The engineer waits on the metric definitions. The definitions get argued about in a meeting nobody meant to schedule. Running the six steps in one place, with something concrete to check at the end of each, is mostly a way of deleting those handoffs. The agent doing the typing is the part you will think about least a week later.
If you would rather see the same loop told as a story than a checklist, there is a companion piece, "One Agent, the Whole Growth Loop", from a decision-maker's point of view. Otherwise, point your own agent at your own environment and start at step one. The first check that fails will teach you more than the rest of this guide.